

Why Are Drywall Repairs So Expensive in Tacoma?
If you've ever received an estimate for drywall repairs and thought, "It's just drywall. Why does it cost so much?" you're not alone. At Arken, we hear this question regularly from homeowners throughout Tacoma and the surrounding communities.
The reality is that quality drywall repair is far more than cutting out damaged drywall and installing a new piece. A professional repair requires careful planning, skilled craftsmanship, multiple visits, and attention to detail to create a finish that blends seamlessly with the rest of your home.
Here's a closer look at what goes into a professional drywall repair and why investing in quality workmanship saves money in the long run.
The Arken Process: It Starts With a Thorough Inspection
At Arken, every drywall repair begins with a detailed inspection of the affected area. Before any work begins, we identify several important factors that determine the proper repair process, including:
Drywall thickness and type
Whether fire-rated drywall is required
Existing wall or ceiling texture
Paint color
Paint sheen
The extent of the damage
Lighting conditions that may affect the finished appearance
These details matter because every repair must blend with the existing surfaces. Even a slight difference in texture or paint sheen can make a repair obvious once the project is complete.
As a company specializing in insurance repairs and remodeling, we understand how important it is to restore a home to its pre-loss condition. That begins with accurately identifying the right materials before any work starts.
Sourcing Materials Takes Time
Once the inspection is complete, the next step is obtaining the proper materials.
Professional contractors don't simply show up with everything they need. Materials must be purchased, transported, and organized for each specific project.
Depending on the repair, materials may include:
4' x 8' drywall sheets (32 square feet each)
Fire-rated drywall
Joint compounds
Fiberglass or paper tape
Texture materials
Primers and paints
Fasteners and specialty supplies
If fire-rated drywall is required, the work becomes even more labor intensive. Fire-rated drywall is thicker, heavier, and more difficult to transport, especially when it must be carried upstairs or installed on ceilings.
Professional tools also represent a significant investment. While contractors already own them, maintaining, transporting, and using professional-grade equipment is part of delivering a quality repair.
Preparation Is Critical
One of the most overlooked parts of drywall repair is preparing the workspace.
Before any drywall is removed or installed, the work area should be protected by:
Masking adjacent surfaces
Covering flooring
Protecting furniture and finishes
Containing dust from spreading throughout the home
Drywall dust travels surprisingly far, and a quality contractor spends time protecting your home before the repair even begins.
Proper Drywall Installation
Installing drywall correctly is about much more than attaching a piece of drywall to the wall.
The new drywall must have solid backing at every seam. In many cases, this means fastening the drywall to existing framing. In others, additional blocking must be installed to properly support the edges.
The drywall is then secured using the proper screw spacing and screw depth to avoid future cracking or movement.
Skipping these steps often leads to repairs that fail months later.
The Art of Taping and Mudding
This is where drywall repair becomes true craftsmanship.
Once the drywall is installed, every seam is reinforced using either fiberglass mesh tape or traditional paper tape.
Joint compound—commonly called drywall mud—is then applied over every seam and fastener.
The first coat must be applied smoothly enough to secure the tape without creating bubbles, ridges, or voids.
After the first application, the compound typically needs 12 to 24 hours to dry, depending on temperature and humidity.
In some situations, fast-setting compounds can speed up the process. However, these products must be used in the proper applications and applied correctly. Improper use can create finishing problems that become visible after painting.
Multiple Coats Create a Smooth Finish
Many homeowners are surprised to learn that drywall finishing requires multiple applications.
Joint compound doesn't instantly create a perfectly flat surface. Instead, each coat gradually feathers the transition between the new drywall and the existing wall.
A typical repair includes:
First coat of compound and tape
Drying
Sanding
Second coat
Drying
Sanding
Third finish coat
Final sanding and inspection
Each layer is wider than the last, spreading any imperfections so they become invisible to the human eye.
Before texture is applied, an experienced drywall finisher carefully checks the surface for hard edges, ridges, pinholes, or other imperfections that could show through the finished paint.
Matching Existing Texture Takes Experience
Texture matching is one of the most challenging parts of drywall repair.
Every home has unique wall and ceiling textures, and recreating them requires years of experience.
If new drywall is blended into an existing wall, the texture must transition naturally into the surrounding area without creating an obvious patch.
Lighting also plays a significant role. Bright windows, recessed lighting, or wall sconces can highlight even the smallest imperfections, requiring additional finishing work to achieve a seamless appearance.
Painting Isn't Just Painting
Once the texture has cured, the repaired area must be primed and painted.
Matching paint involves more than simply finding the correct color. The sheen—whether flat, eggshell, satin, or semi-gloss—must also match the surrounding walls.
A repair with the correct color but the wrong sheen will often remain visible long after the project is complete.
Many Repairs Begin With Other Contractors
At Arken, drywall repairs often come after another professional has completed work inside the walls.
Some common examples include:
A plumber replacing aging plumbing
An electrician repairing or upgrading wiring
A restoration contractor performing a flood cut after water damage
Insurance-related repairs following a covered loss
Once those repairs are complete, our job is to restore your walls and ceilings so they look like the damage never happened.
Why Experience Matters
Anyone can install drywall, but producing an invisible repair requires experience, patience, and attention to detail.
Poor drywall work often results in:
Visible seams
Cracks
Bubbles
Uneven surfaces
Inconsistent texture
Paint that doesn't blend
These problems become even more noticeable over time.
At Arken, we take the time to source the correct materials, follow proven installation methods, and complete every stage of the repair with quality craftsmanship. Whether we're repairing a small plumbing access hole or restoring extensive water damage, our goal is always the same: a finished product that homeowners can be proud of.
The Value of Doing It Right
A small drywall repair may seem simple, but behind every quality repair are hours of preparation, skilled craftsmanship, drying time, sanding, texture matching, and painting.
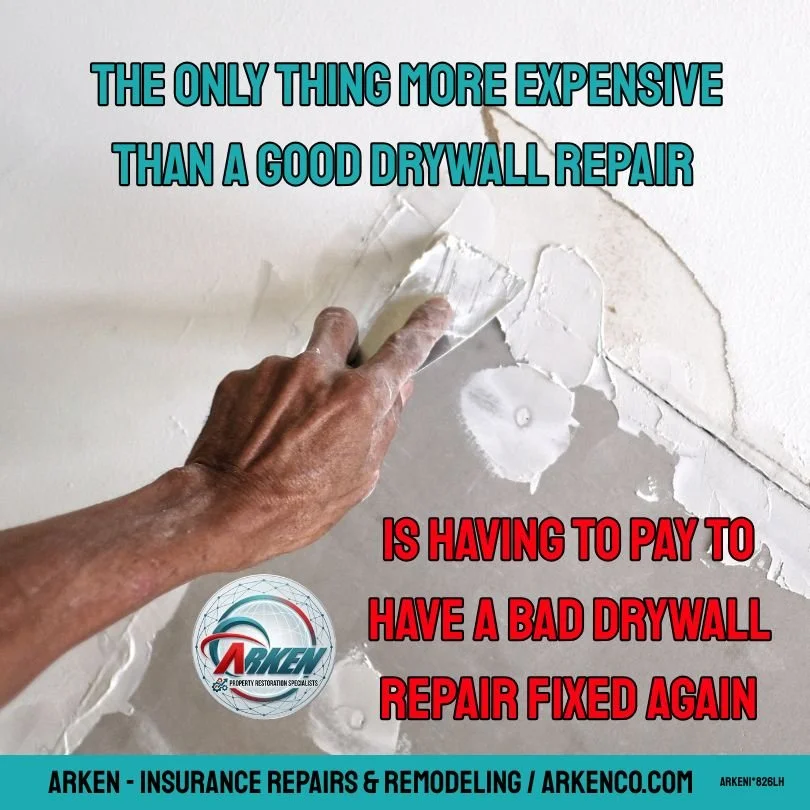
The only thing more expensive than paying once to have drywall repaired correctly is paying another contractor to fix a poor repair later.
When choosing a drywall contractor in Tacoma, experience, craftsmanship, and commitment to quality matter. The right contractor won't just patch the wall—they'll restore your home with a finish that's built to last.